When it comes time for roofing upgrades, Vicwest Summerside products give a beautiful modern appeal combined with strength. It is a very good solution that homeowners can select for having long-lasting and attractive steels on the house roof. Here’s a step-by-step guide on the Vicwest Summerside installation.
What to know about Vicwest Summerside?
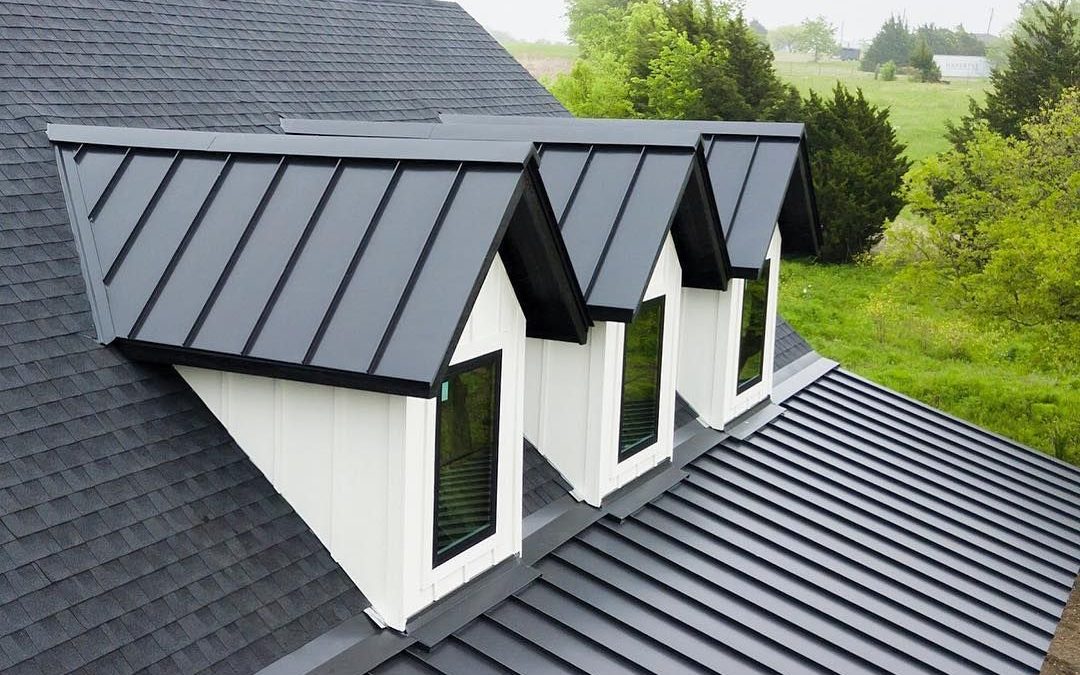
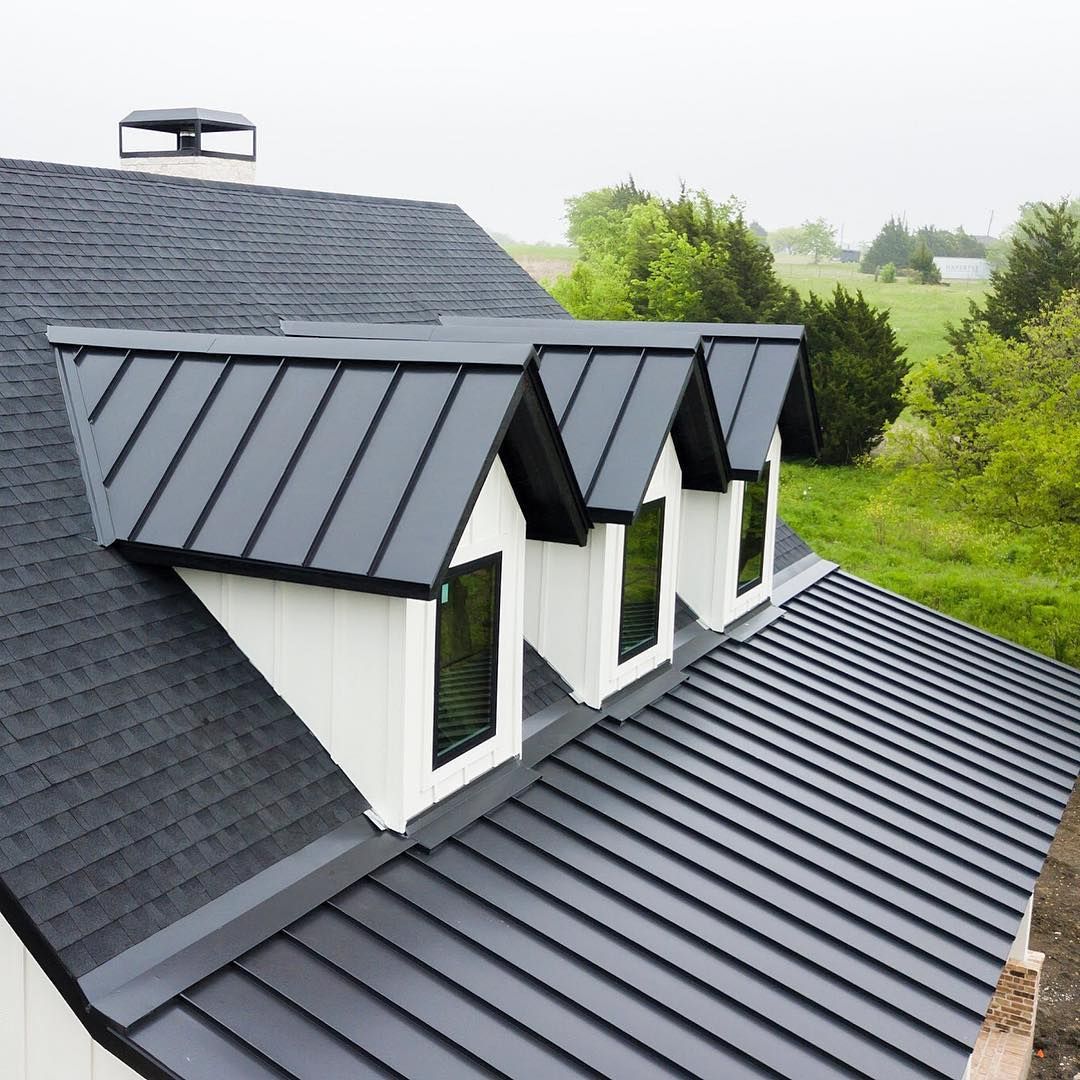
Before going deep into the installation procedure, let us just view some quick facts about what makes Vicwest Summerside roofing so special. Vicwest’s Summerside panels are strictly designed for shield protection against the elements with stylish finishes complementing the home.
Whether you are planning to install a new roof or replace the old one, this panel offers an impressive warranty and resistance against bad weather conditions. If installed correctly, these panels will last for decades, providing you with a functionally beautiful and aesthetically pleasing roof.
Stepwise Procedure for Vicwest Summerside Installation
Step 1: Prepare Your Roof
The first step during preparations for installation is making sure that you prepare the roof well:
- Check the roof deck: Ensure that it is in good condition. Replace any part of the decking that is damaged before the installation.
- Clean the roof: Remove any residual material or dirt on the surfaces. This will enhance proper adherence to the new panels.
- Check the weather: Plan the installation on a dry day. Installation in extreme heat or cold can affect the materials.
Step 2: Gather The Necessary Tools and Supplies
Before starting the Vicwest Summerside Installation, make sure you have all the required supplies and tools. You’ll need the following:
- Vicwest Summerside panels
- Fasteners, clips (system-recommended)
- Safety gear (gloves, ladder, and non-slip footwear)
- Power drill
- Measuring tape
- Chalk line
- Roofing underlayment (if required)
It would be handy to have all these tools and materials easily accessible when the installation procedure begins.
Step 3: Install the Underlayment
Installing an underlayment is optional but recommended as it protects the roof further. It also prevents moisture intrusion and works to make the roof energy-efficient. To install it:
- Roll the underlayment onto the roof, starting at the eaves.
- Overlap each row by a few inches.
- Fasten the underlayment with nails or staples.
Step 4: Install the Vicwest Summerside Panels
It is time to install the boards now. Here is how to do it:
- Start from the Bottom: First, fit the eaves, installing the first row of panels in place. Use a chalk line to maintain the panel’s alignment straight. Ensure the use of fasteners at each rib to attach the panels.
- Install the Remaining Rows: Put the next row of panels so that it overlaps the previous one. This will prevent gaps from occurring or forming leaks.
- Cutting Panels: You might have to cut panels for those that surround vents, chimneys, or edges. Use a metal saw or tin snips to cut them.
- Panel fastening: Fasten all the panels to ensure all are secure and do not suffer damage from the wind.
Step 5: Finish with the Ridge and Eaves
Once the main panels are installed, finish off as follows:
- Ridge Cap Installation: Place ridge caps on top of the roof so that it looks good and adds extra protection.
- Add Eave Trim: Attach trim along the edge of the roof. This will help protect the roof against water damage while giving it a clean, finished appearance.
Ready to Start Your Vicwest Summerside Installation?
Now that you know the steps for a viable Vicwest Summerside installation, you are ready to get going. Visit metalroofingsolutions.ca to find out more and get started with installation. With the right preparation and tools, your Vicwest Summerside roof will look amazing and last for years!
